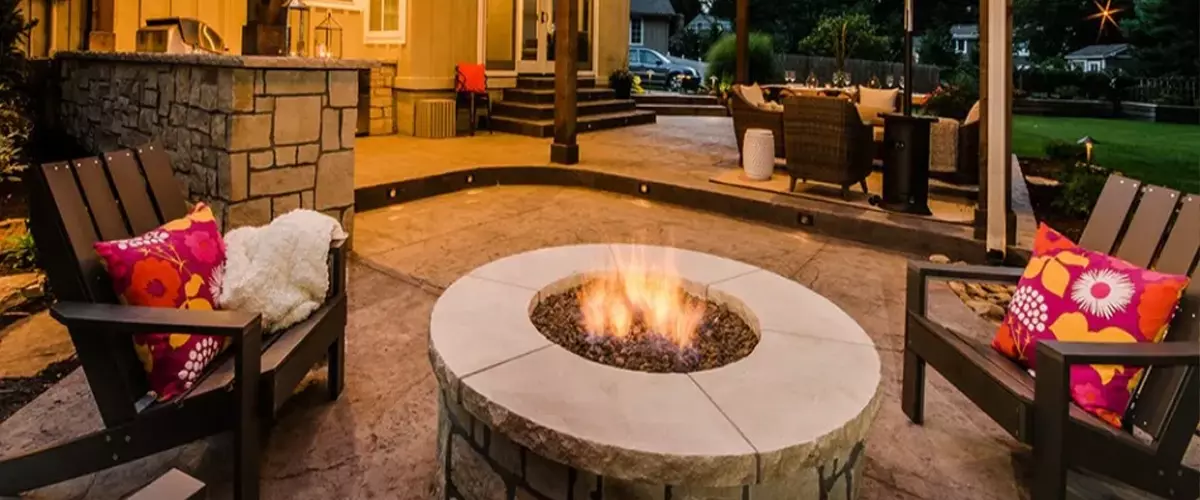
There’s nothing like relaxing by a toasty fire on a cool evening. If you’re planning to build an outdoor fire pit, there are a few things you need to keep in mind to make sure you do it the right way.
How To Build An Outdoor Fire Pit
In this blog post, we’ll walk you through the process of building outdoor fire pits step-by-step so that you can enjoy many evenings gathered around your own backyard bonfire. This tutorial covers the best fire pit options: both circular and rectangular designs. However, if you prefer a readymade fire pit, be sure to check out our list of the best fire pit brands.
Keep reading to learn how to build outdoor fire pits–the best way.
-
Tools
- Shovel
- Level
- Rubber mallet
- Hand tamper
-
Materials
- Retaining wall blocks (size and shape will determine how many you need)
- Construction adhesive
- Metal fire pit ring (for circular fire pits)
- Fire bricks, concrete pavers, or lava rock for the bottom of the pit
- Gravel rock to fill in the spaces
- All-purpose sand for small gaps and leveling
Duration: ~ 3 hours (not including curing time for adhesive)
Difficulty: Beginner level
1. Select The Location And Plan The Layout
The first step in building your own fire pit is to pick a location and determine the layout. How much space is required around the fire pit may be determined by local codes, but usually, you want it at least 15 feet away from your house or any other structures. Ideally, the location should also be relatively level (for comfortable seating) and close to a water source (for safety).
It’s also a good idea to check with your homeowner’s association (HOA) and local building codes to verify that a fire pit is allowed on your property. You may also need to discuss the installation of a fire pit with your home insurance agent to ensure it doesn’t affect your coverage.
2. Determine The Size And Prepare The Fire Pit Site
Once you’ve found the perfect spot, use string and stakes to outline the shape of your fire pit (if you are making it in a square or rectangular shape). Or you could draw the outline with marking spray paint.
If you are making a circular fire pit, you can simply lay the metal fire pit ring on the ground with some retaining wall blocks to determine the correct size, then mark the outline with your shovel, or spray paint.
3. Dig Your Hole
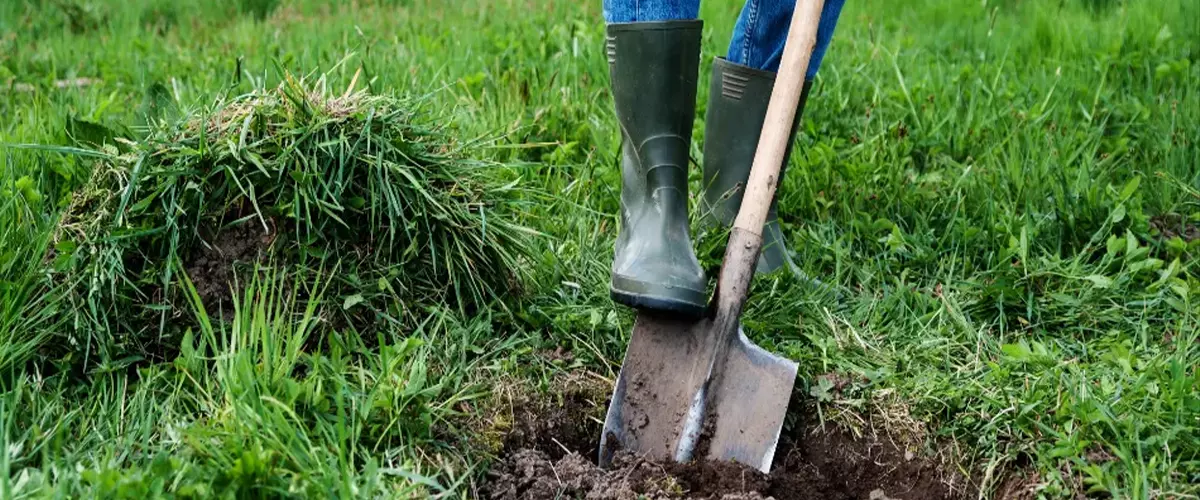
*Always call 811 before you dig any hole in the ground! 811 will mark any underground utilities with paint or flags, so you don’t inadvertently dig into a gas, cable, or electric line.
Now that you have determined the dimensions of your excavation, it’s time to start digging. If you have a shovel, that will work fine. Alternatively, if you want to make things easier on yourself, you can rent a power auger from your local hardware store.
Make your hole about 7 inches deep. Once you’ve finished digging, remove any large rocks or roots that you may have come across.
4. Add Sand Or Gravel To Create Fire Pit Base
Once you’ve excavated your hole and removed any debris, it’s time to add sand or gravel to create a level base for your fire pit floor. Add enough sand or gravel so that it’s about 4 inches deep—this will help with drainage and prevent your pavers, bricks, or blocks from shifting.
Compact the sand or gravel with a hand tamper or rented power compactor. You can use a level to ensure that your base is relatively even.
5. Lay The Bottom Row Of Pavers, Bricks, Or Blocks
Now it’s time to start laying your bottom row of pavers, bricks, or blocks on top of the level sand or gravel base. Use a level after every few stones to make sure they’re level with each other; otherwise, your fire pit will be lopsided.
Whether it’s a rectangular or a circular fire pit, make sure the blocks are aligned with the outer edge of your hole. Use sand to help level the blocks and make adjustments by tapping the blocks with a rubber mallet.
Note that trapezoidal blocks (for circular fire pits) will need to have the narrow side facing toward the center of the fire pit. You can use thin rectangular blocks to fill the gaps between the trapezoidal blocks or just use pea gravel or river rocks.
Rectangular or square-shaped fire pits will typically use a blend of different-shaped rectangular blocks that allow you to create a fire pit without gaps.
6. Lay Temporary Second Row
7. Ensure Fire Pit Bowl Or Ring Fits (For Circular Fire Pits Only)
Now it’s time to check if everything fits before we move on to the next step. Place your fire pit bowl or ring upside down in the hole on top of the temporary second layer of stones. If everything looks good and there’s about ½ inch of space between the stones and bowl or ring all the way around, then you’re ready for the next step. If not, make any necessary adjustments now before moving on.
If you are building a rectangular or square fire pit that doesn’t use a metal ring, go ahead and jump to the next step.
8. Remove Second Row And Add Adhesive To Bottom Row
Once you’re satisfied that everything fits, remove the temporary second layer of stones and set them aside (we’ll use them again in a minute).
Next, add adhesive to each stone in the bottom row according to the manufacturer’s instructions. Typically, you’ll need enough adhesive to cover half of each stone’s surface area.
Again, don’t forget to stagger the joints of the blocks on the second row. This improves overall stability and also looks better.
Keep in mind that the adhesive will need to dry and cure before the fire pit is ready to be used. Curing time will vary based on the adhesive, but most adhesives take at least 48 hours to cure.
Pro tip: We recommend rechecking the fit of each block before you apply the adhesive and place it.
9. Add Pavers, Bricks, Or Lava Rock To The Fire Pit Floor
Now it’s time to add concrete pavers, fire bricks, or blocks to the fire pit floor. Start in the middle and work towards the edges, adding adhesive as you go.
If using lava rock, simply add enough to cover the bottom of the fire pit with a layer several inches deep.
10. Add Additional Rows (Optional)
11. Insert Fire Pit Bowl Or Ring On Top (For Circular Fire Pits Only)
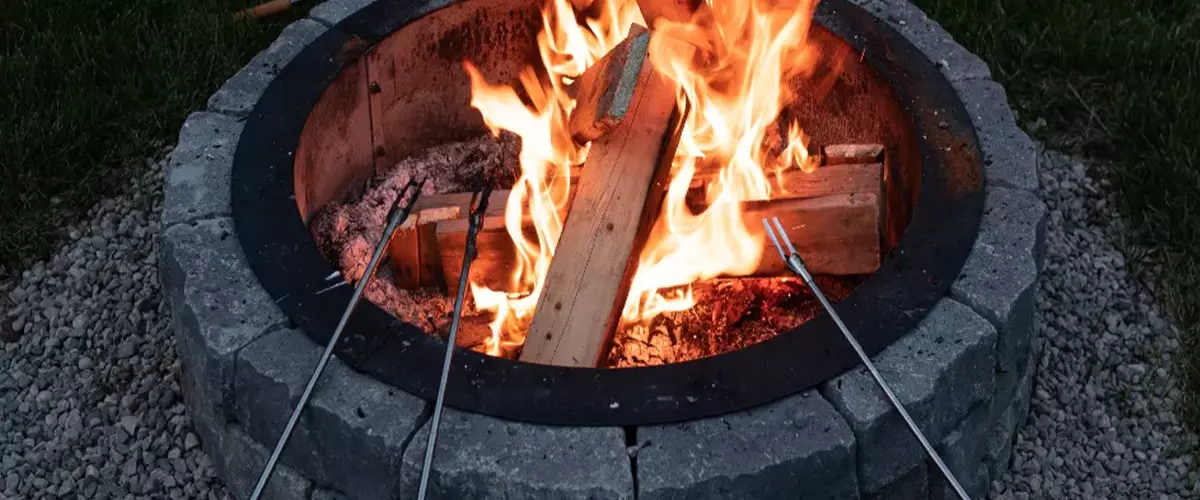
12. Add Kindling And Logs To Start Enjoying Your New Fire Pit!
Congratulations! You have successfully built a backyard fire pit and are ready to start enjoying a pleasant evening outdoors by a toasty fire.
First, gather your materials. You’ll need some smaller logs or kindling, as well as some larger logs for the fire. Once you have your materials, it’s time to start building your fire.
Start by placing some of the small logs or kindling in the center of the fire pit. Then, stack some of the larger logs around the outside of the fire pit. Be sure to leave enough space between the logs so that air can circulate and help the fire to spread.
Once you have your logs and kindling in place, light it with a match or lighter and enjoy your fire with roast marshmallows or a beverage of your choice!
A Few Words Of Caution
- Always make sure that the blocks you use for your fire pit are designated as heat-resistant.
- Make sure you have a water source, a bucket of sand, or a fire extinguisher nearby your fire pit.
- Never leave a fire unattended. Fully extinguish any fire before leaving it alone.
- Occasionally cleaning ashes out of your fire pit will ensure it doesn’t get overfilled and help maintain a clean burning fire. Some fire pit users like to add a removable ash pan for this purpose.
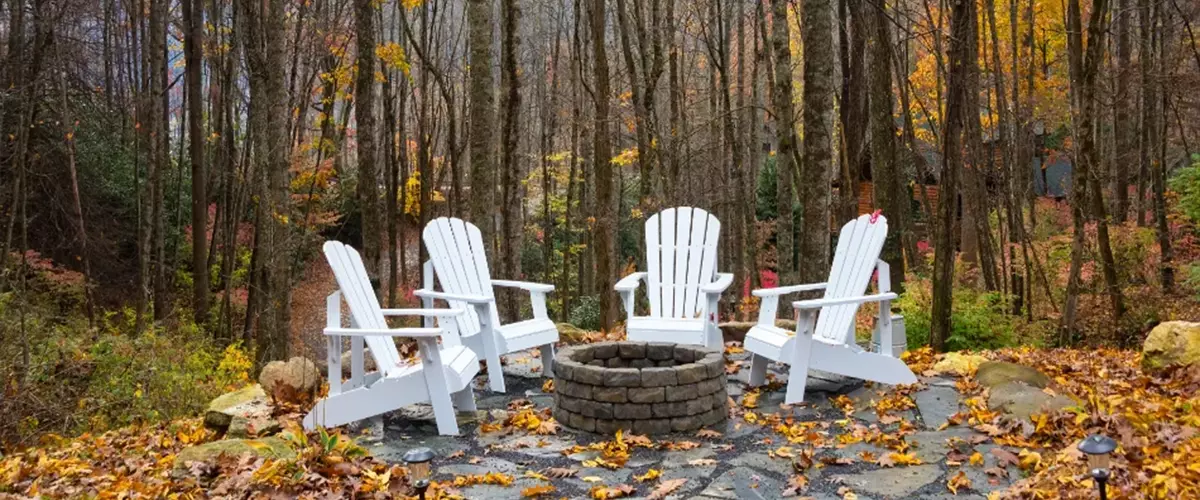
Bring Your Outdoor Living Space To Life With A Professional Fire Pit From Farrell’s Lawn And Garden
Building wood-burning fire pits are easy–as long as you follow these simple steps! With just a little bit of planning and effort, you’ll have a beautiful outdoor space for family and friends in no time at all.
That being said, if you need help with the project or just want to get a larger outdoor living space installed, give us a call! Our team of experts is ready and waiting to answer all of your questions. Just fill out our contact form, and we’ll get back to you as soon as possible.